
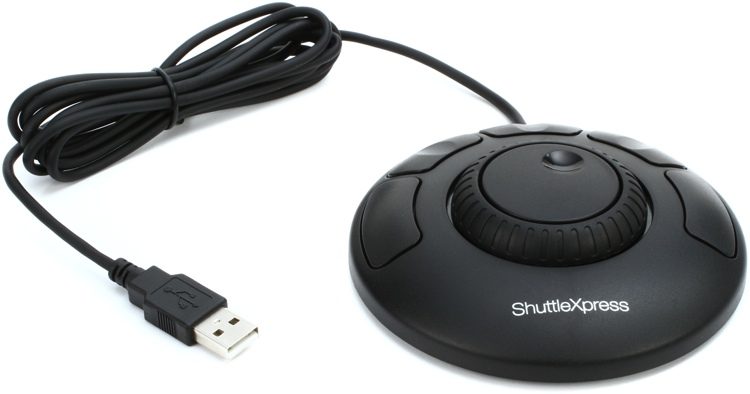
This short blog post is going to show you how you can use your Contour ShuttleXpress controller to control and operate Power Prompter.
The setup process is simple and once performed the controller will work with Power Prompter requiring no additional steps.
1. Setting up the ShuttleXpress
First we need to download the macOS driver package for the ShuttleXpress. If you have set up the ShuttleXPress to work with macOS you can skip this part. Otherwise go to Contour’s driver download page and download the macOS driver package.
The download page can be found under https://www.contourdesign.com/support/software/. On the page click on the “Shuttle Drivers” tab and click on the macOS download link. Please also read through Contour’s macOS notes as they are important fro the driver installation under macOS 10.13 and up.
Once the download finishes run the driver installation and reboot your Mac.
2. Adding Power Prompter to the ShuttleXpress software
Now we’re going to create a Power Prompter profile in the Contour software. To do this first start the control software from the Applications folder (/Applications/Contour Shuttle.app).
In the Contour app select the “ShuttleXpress” tab from the toolbar (if you’re using a different USB controller select the tab for your model here). Now go to the lower left corner of the control app and click the Plus (+) button and select Power Prompter.app from your Applications list.
3. Configuring the ShuttleXpress Power Prompter profile
Back in the Contour app find the Power Prompter entry in the side bar and select it. (It’s under the User category).
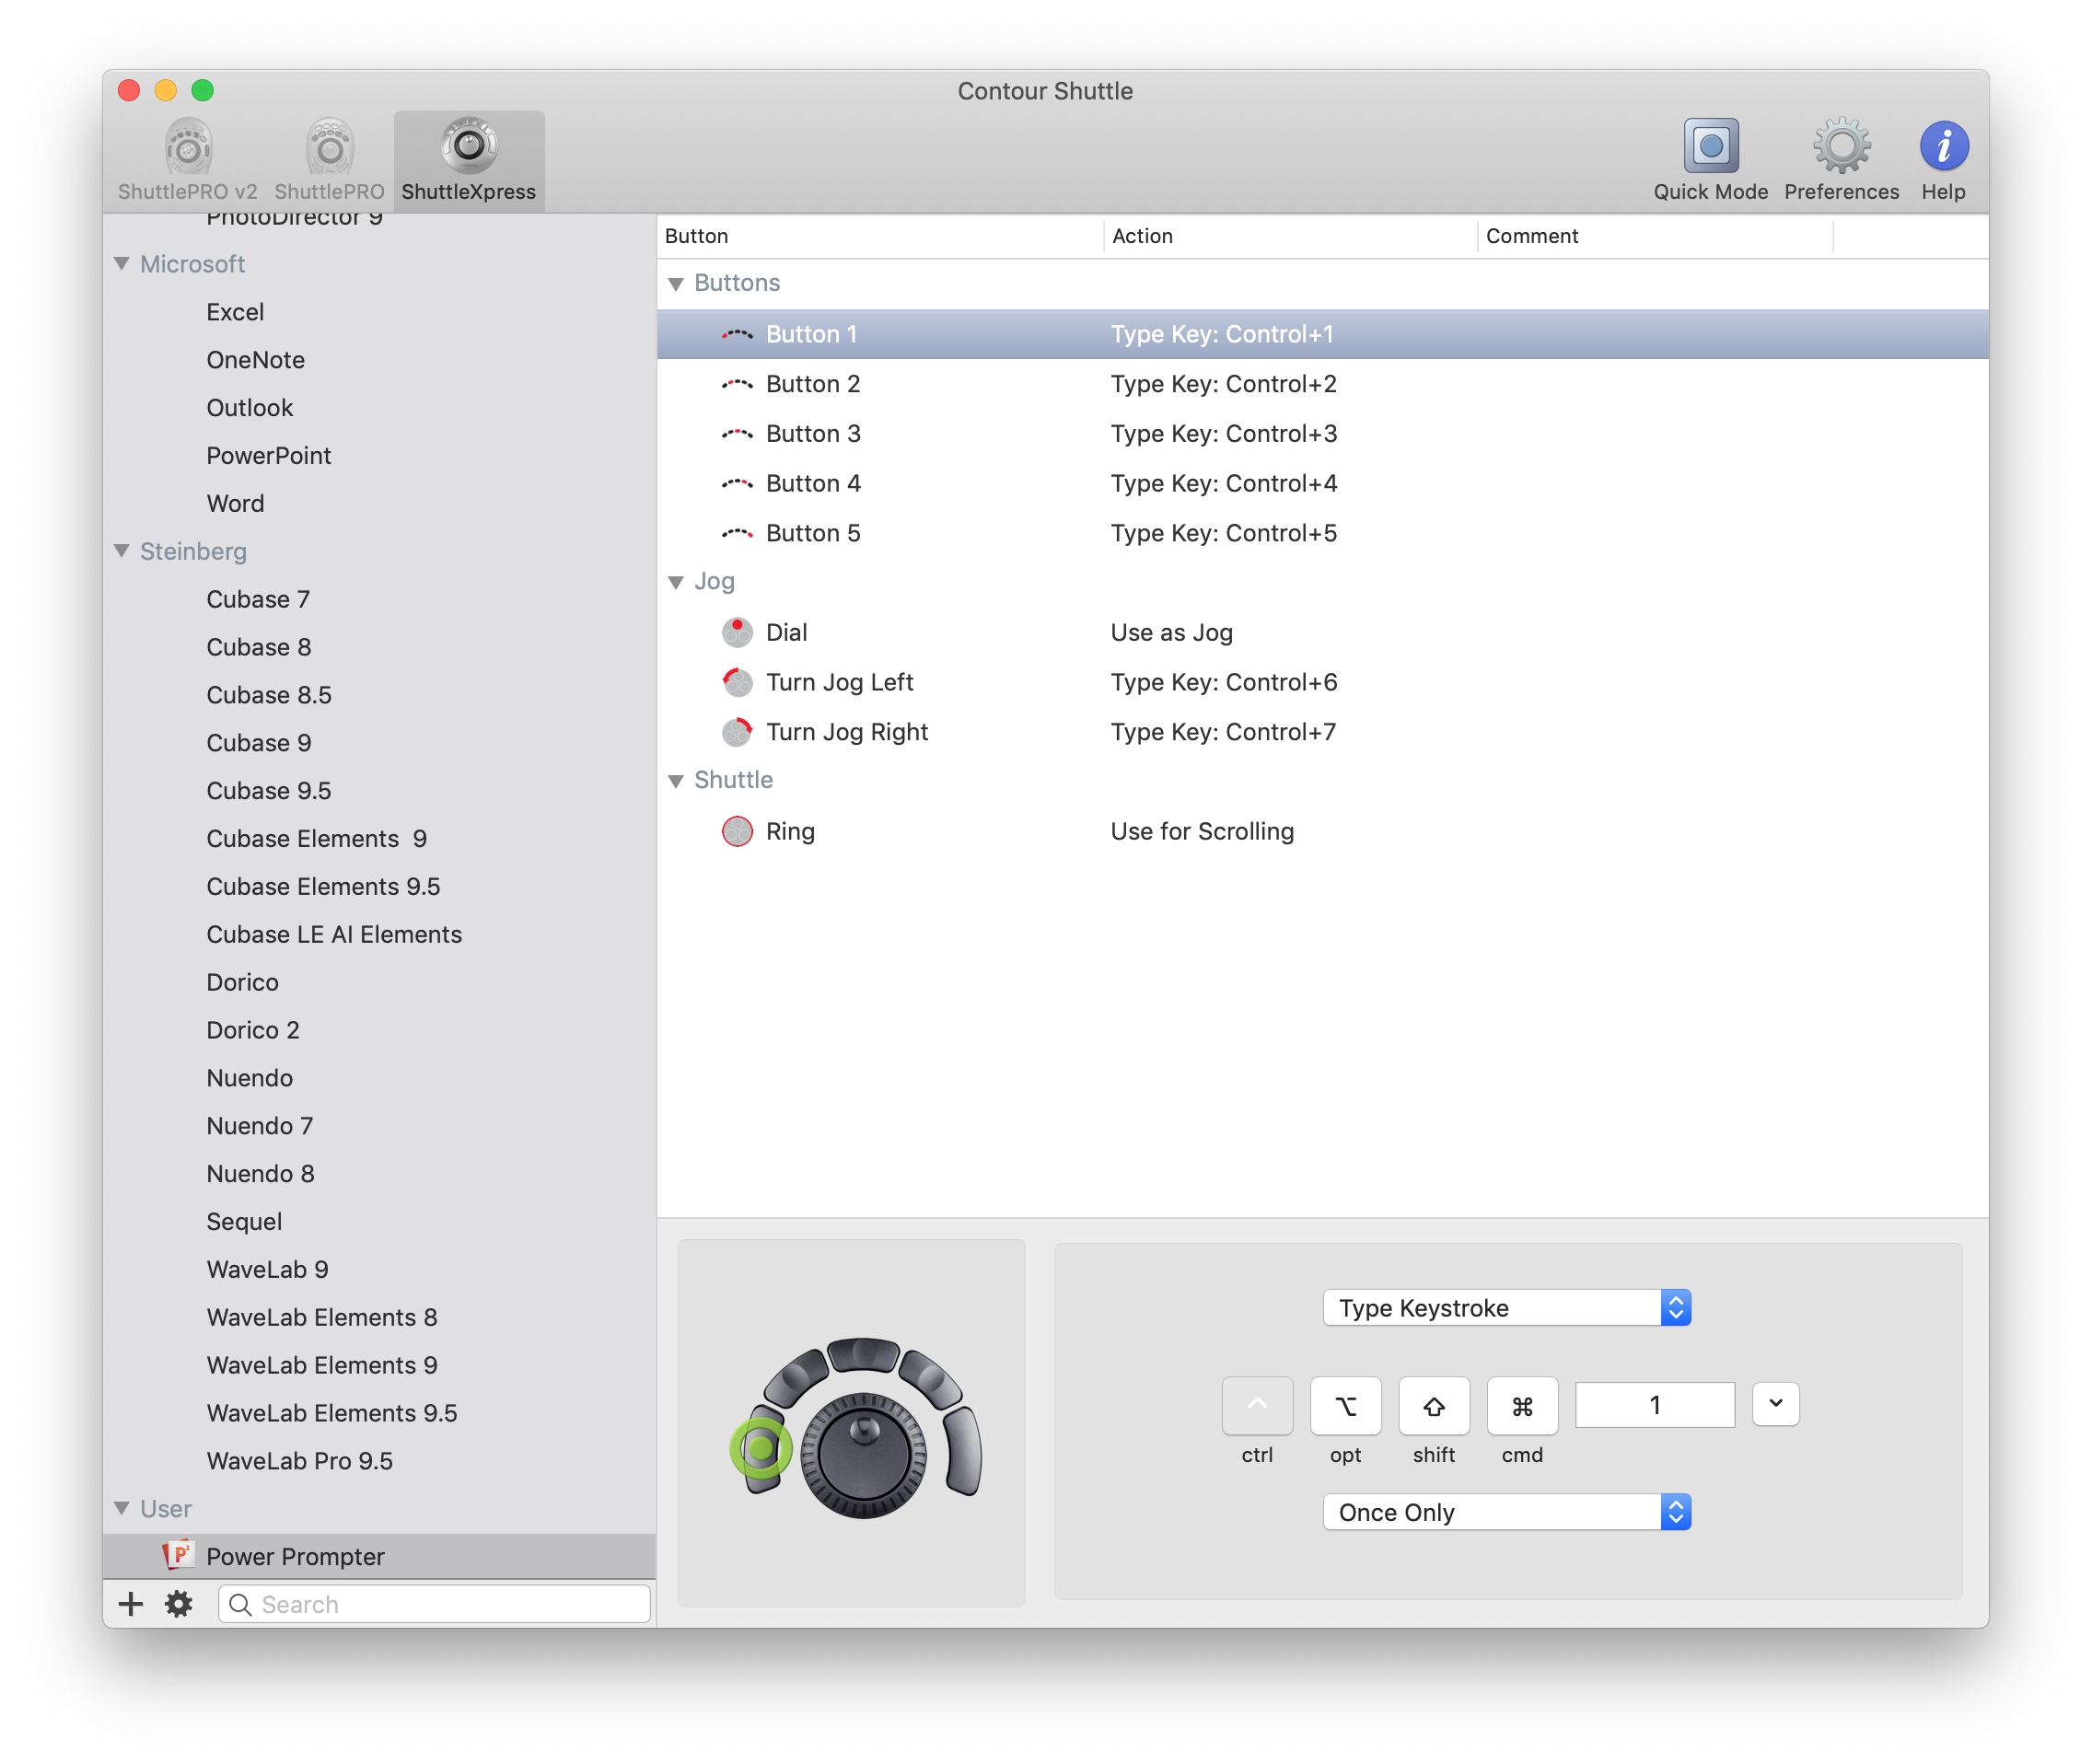
Now we need to assign key strokes to the Shuttle’s physical buttons. You can freely assign the buttons like you want but we found that assigning the buttons to [Control] + [1 … 7] doesn’t conflict with any system shortcuts and allows Power Prompter to react to control events even when the teleprompter window doesn’t have keyboard focus. See the screenshot below for a sample configuration which turns out to work pretty well.
4. Configuring Power Prompter keybindings
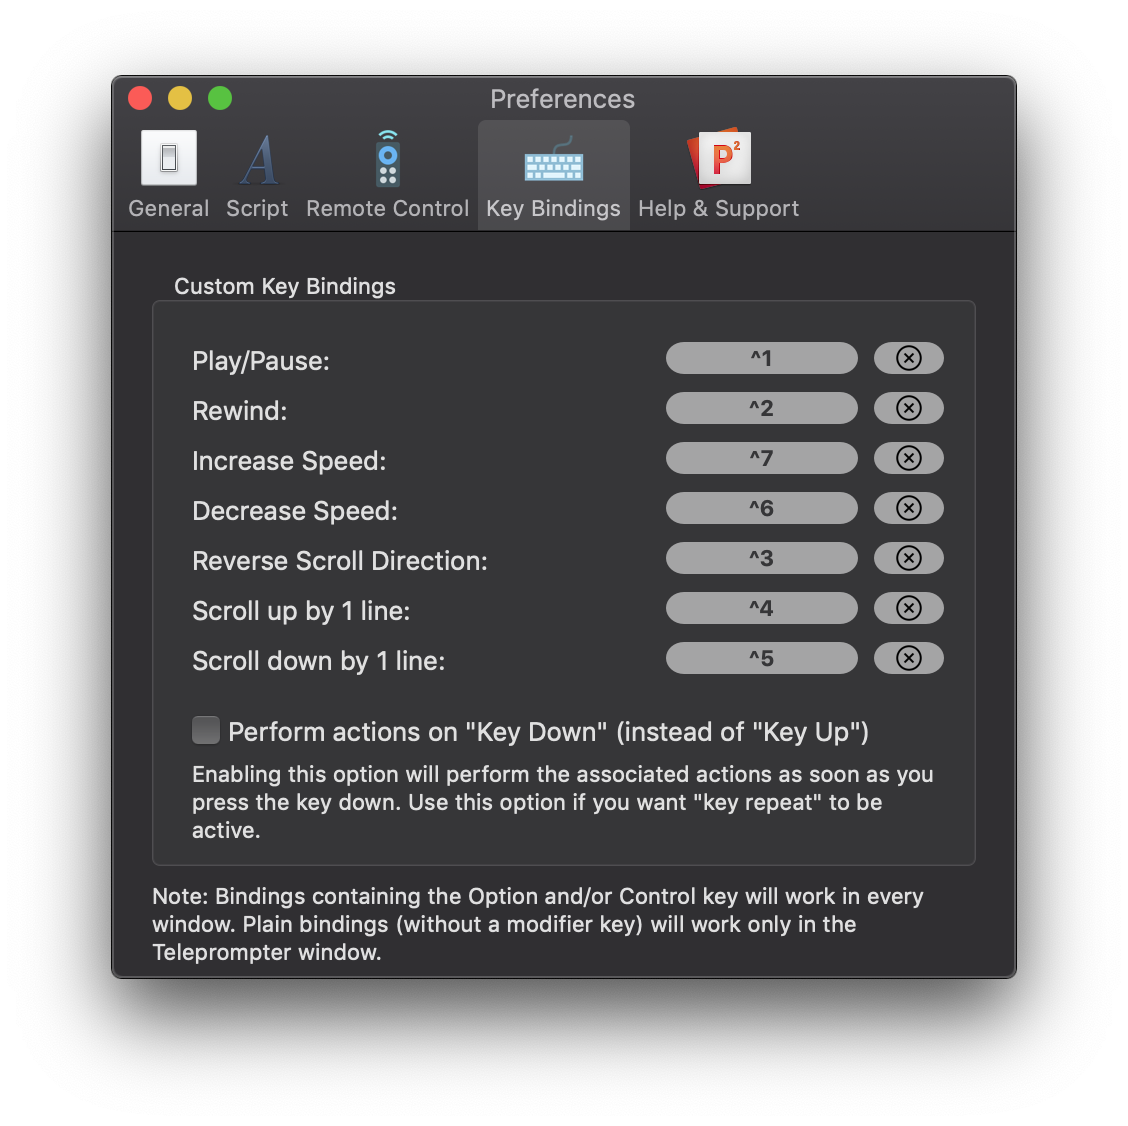
Now switch to Power Prompter and go to the preferences panel (Power Prompter -> Preferences… menu item) and select the “Shortcuts” tab. There mirror your Contour mapping. (Click a “not assigned” button and once it lights up just press the button you want to map to this action on your Shuttle. If you don’t get a response quit and restart Power Prompter to notify the Contour software to change the profile).
The screenshot below shows how the setup should look like in Power Prompter.
Once you’ve performed these steps you can use your ShuttleXpress to control Power Prompter. You might want to check the “Invert scroll wheel direction in teleprompter window” setting under the “General” tab of Power Prompter preferences if the scrolling behavior of the ShuttleXpress is confusing to you. (The ShuttleXpress has a strange interaction with macOS natural scrolling settings which can be confusing while using the jog wheel for speed/position adjustments).
5. Using the ShuttleXpress to control Power Prompter
If you followed our recommendation to use CTRL+[Number] for the shortcuts then using the ShuttleXpress with Power Prompter is trivial: Just press the button mapped to the action you want to perform and Power Prompter will react to it.
If you have set up key shortcuts that don’t contain the CTRL or OPTION modifier keys then the Shuttle will only work when a teleprompter window has keyboard focus (is the active window). Without those modifier keys Power Prompter can’t know if the key press is a control signal or just plain normal text input for the text editor.
6. Support
If you have difficulty following this guide, have any questions or just want to give feedback don’t hesitate to contact our support: support@suborbital.io