
If you’ve never tried to make a screen recording you’re probably lost about what software to use and where to start.
Luckily you don’t need to spend a dime to get started with screen casting. And it’s rather easy, too. Because macOS comes with all the tools you need on board.
The only problem: macOS’ screen recording functionality is rather well hidden. It’s where you wouldn’t look for it: In the QuickTime Player. For some reason Apple thought it was a good idea to put recording functionality into a media player application.
Creating the screen recording
So how do you make a screen recording with QuickTime Player? It’s rather easy:
- Go to Applications (or Launchpad) and start QuickTime Player.
- From the “File” menu select “New Screen Recording”
- Press the red “record” button.
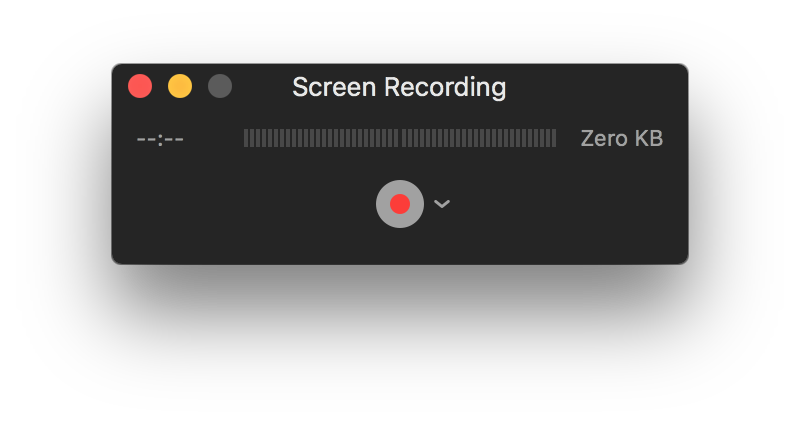
- Follow the instructions that appear on screen.
Once you’re done you can cut and edit the video with iMovie or any other video editing app.
The voice track
Now a mute screen recording won’t win any awards. That’s why you need to record a voice track.
Many people make the mistake to do a live narration. While focusing on whatever they try to accomplish on screen they also try to narrate it. Which is – until you’re really experienced – doomed to fail.
You will make mistakes in either your narration or in whatever you’re doing on screen. Or both.
So our tip for the beginner is: Create a rough script for what you want to accomplish on screen, record yourself following the script and after that record the voice track.
Simply open an audio recording app, play back your screen recording to yourself and do your narration.
For this step a teleprompter is an enormous help. Creating a teleprompter script and speaking it in for the voice track makes your recording instantly sound more professional.
Putting it all together
Now that you’ve got a voice track and a video track you’ll want to put it all together and give it a final touch. That’s also something most Mac owners don’t need to spend any money on.
All new Macs come with a copy of iMovie. So head over to Launchpad and start iMovie – or download it from the App Store if you deleted your copy. If you use the iTunes/iCloud Account you used to register your Mac with the download will be free for you.
Sadly iMovie is complex and we can’t really address it in this short blog post. So you’ll have to experiment yourself. (Tip: Head over to YouTube – there are more iMovie tutorials than you can count).
Advanced mode
So you got the taste for screen recordings. Or you find the free tools a little limited. So the next logical step is to get more professional and spend some money on professional software.
Here we’ll suggest some applications we think are great for making awesome screen recordings. And though they are not free – they won’t cost an arm and a leg either.
Screen recording + editing
These apps are a all-in-one package when it comes to screen recording. They offer screen and audio recording and editing capabilities.
- Screen Flow ($99) – the standard Mac app when it comes to creating great screen recordings. Has many awesome features and allows for in-app video editing.
- Camtasia ($99) – what Screen Flow is for Macs Camtasia is for Windows. But they also offer a Mac version. Has great features too.
We suggest you try out both Screen Flow and Camtasia and see which one you like better. Both apps are a great choice so it comes down to taste.
Audio recording + editing
For when the audio capabilities of your screen recorder are too limited you can use a dedicated audio editing app. These apps not only allow for simple editing but also for quality adjustments, filtering and effects.
- Vector 3 ($19) – a handy audio recorder and editor for your Mac. It has a feature set which is capable of editing and improving any stereo or mono audio recording.
- Amadeus Pro ($59) – offers a little more than Vector 3. Mainly: Multi track recording from many different audio devices. If you need multi track capabilities then you should chose Amadeus Pro.
Vector 3 being a pure audio editor and recorder is probably what most people are going to need for their everyday work. Amadeus Pro is aimed more at professional musicians, podcasters, etc. who need to create complex arrangements with their software.
Video editing
There’s only one choice here: Final Cut Pro X ($199). It’s _the_ standard when it comes to video editing on the Mac. Chances are you won’t need a dedicated video editor because your screen recorder software will offer all the tools you need to cut, arrange and caption your screen recordings. But if you should ever need more power then Final Cut Pro is the tool to use.
Final words
We hope this short(ish) blog post gave you a good intro into creating screen recordings with your Mac. If you have any feedback don’t hesitate to contact us!